![How to Create T Shirt Video Mockup Templates in Photoshop to Sell on Etsy? [NEW]](https://www.bulkmockup.com/wp-content/uploads/2025/02/Qikink-Mockup-Generator-768x402.webp)
This guide will walk you through creating stunning video mockups that not only showcase your designs but also help increase your conversion rates

Video mockup templates are changing how sellers present their products on Etsy and other platforms. With Etsy now allowing video listings and the growing popularity of video content online, there’s a real demand for high-quality t shirt video mockup templates.
Unlike the crowded market for static templates, video mockups offer a fresh opportunity for designers.
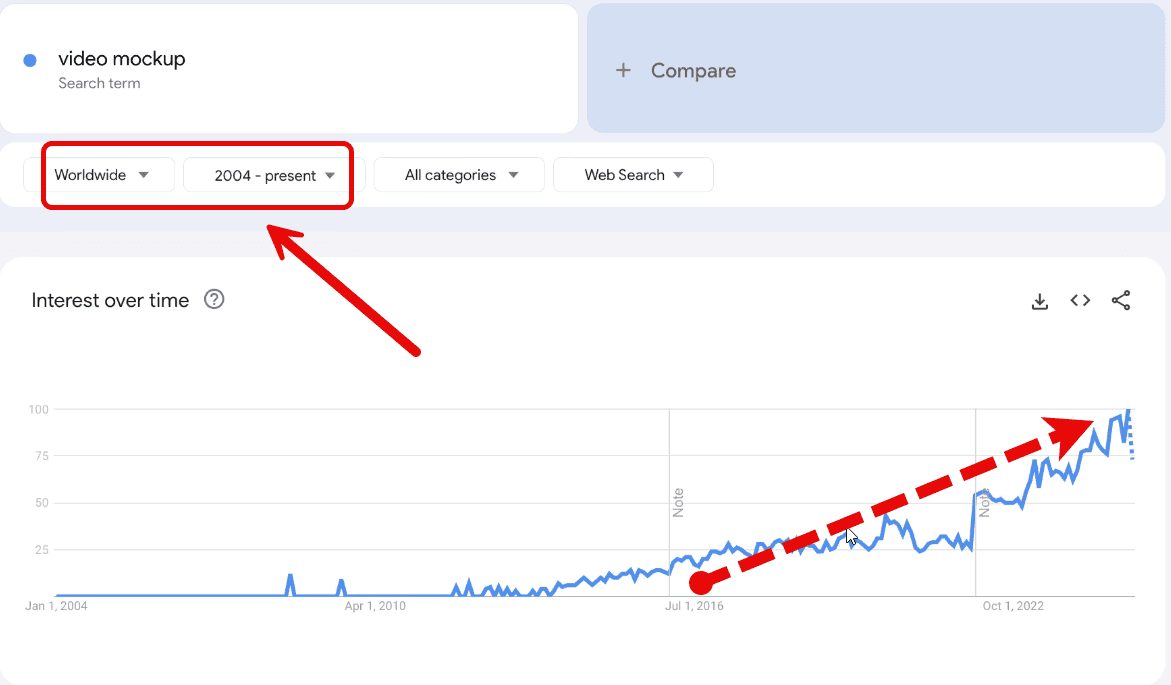
Now is the perfect time to jump into this market. While traditional static templates face stiff competition, T-shirt video mockup templates are still growing in popularity, making it a great chance for those who get in early.
Video mockups show your t-shirt designs in motion. Think of them as mini-movies of your products. They serve two main purposes:
Most sellers get this wrong. They just add movement to a still photo. That’s not enough. Good video mockups are like mini commercials. They tell a story about your product. Here’s why they matter:
Think of it this way. Would you rather see a photo of a shirt or watch someone wearing it?
[ ALSO READ: Best T-shirt Video Mockup Generator ]
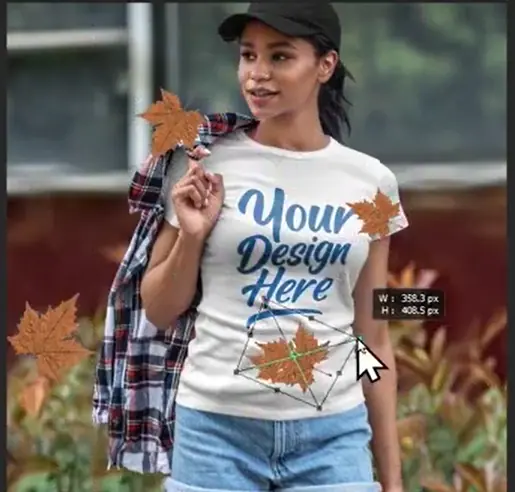
My t-shirt video mockup will highlight two important things to help your buyers increase sales: the detailed design and the t-shirt’s fabric quality. We’ll achieve this using a simple animation technique called 2.5D Parallax animation.
2.5D Parallax animation adds depth to a still image making it come alive by moving the subject and background in opposite directions. It creates a sense of depth and makes your mockup more engaging.
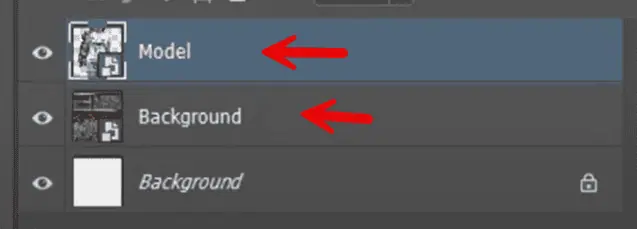
Let’s add a 2.5D parallax animation. I’ll start by opening a blank T-shirt image in Photoshop. First, we need to separate the model (our subject) from the background. Make a selection around the model and press (CTRL + Shift + J) to duplicate it onto a new layer.
Now the subject and background are on separate layers. However, the background has incomplete areas from the cutout. To fix this, we’ll use Content-Aware Fill:
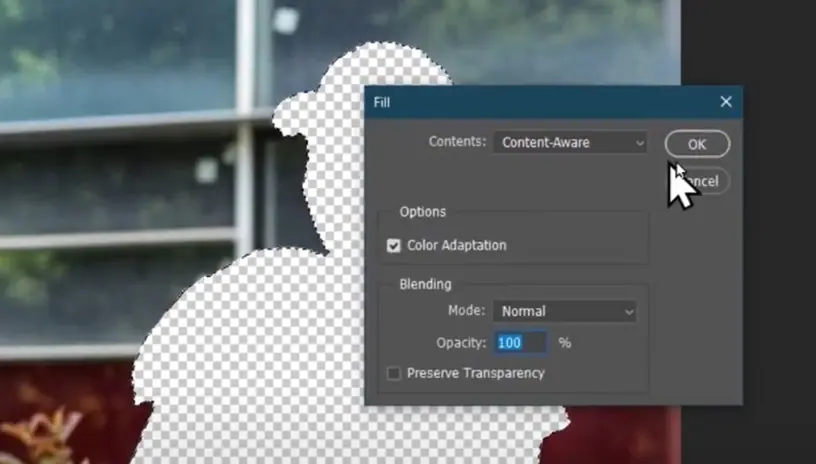
If you’re using the latest version of Photoshop, you can also use Generative Fill for this step. But to keep this tutorial useful for those with older versions, we’re sticking with Content-Aware Fill. After filling, there may be some uneven edges. We’ll smooth these out using the Clone Stamp tool:
This process can be slow and time-consuming, so take your time to ensure everything looks seamless.
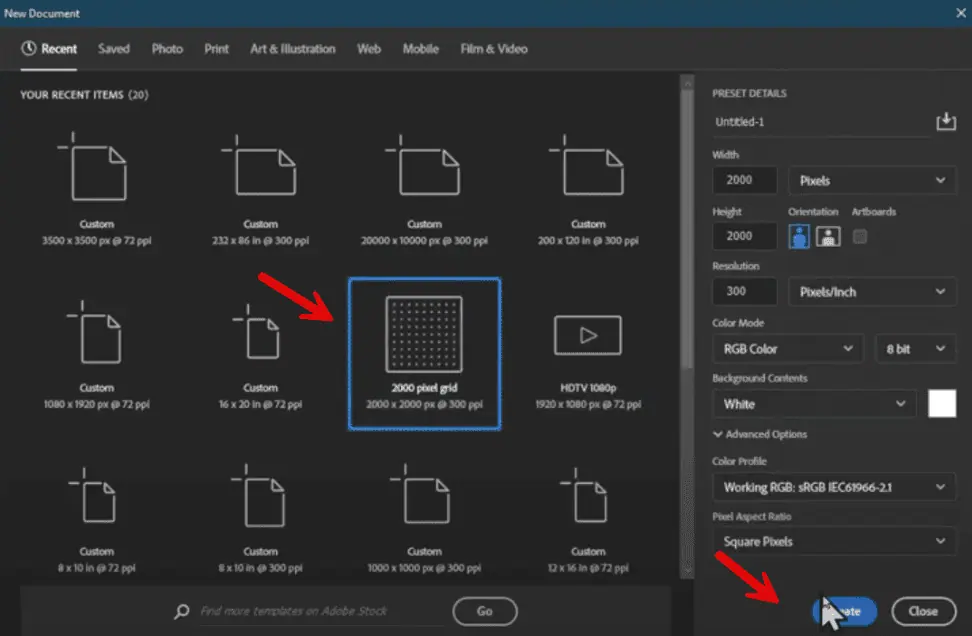
When you’re done separating, create a new document with the Etsy standard size:
This will be the main project. Go back to the project containing your separated subject and background. Using the move tool:
Now it’s time to add the animation:

2. This opens the interface where we’ll apply the animations
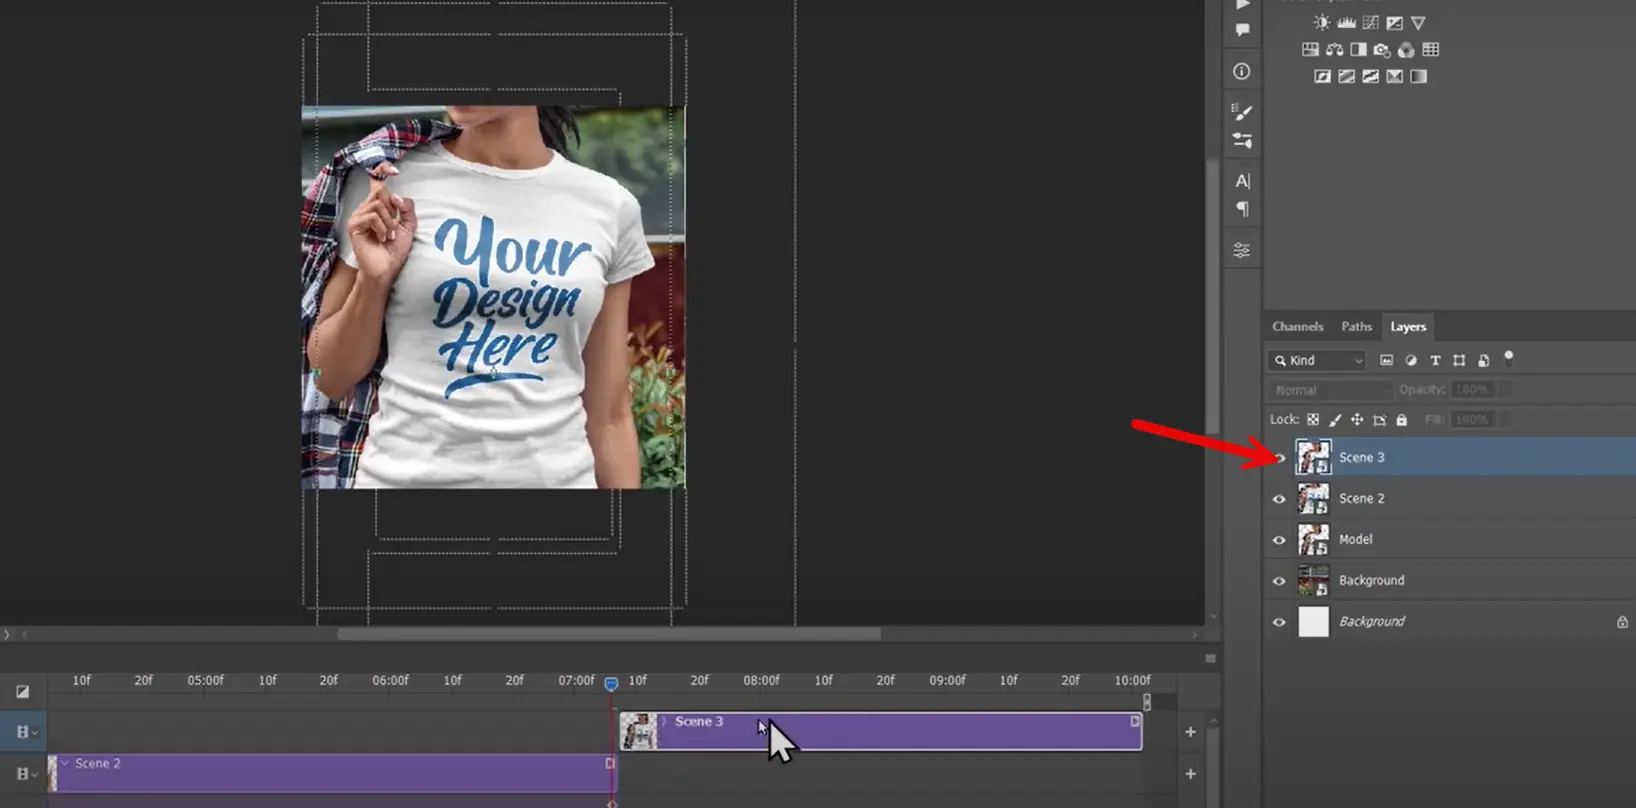
But we don’t want to animate this image alone – we want to make it reusable as an Etsy template. We’ll achieve this using nested smart objects:
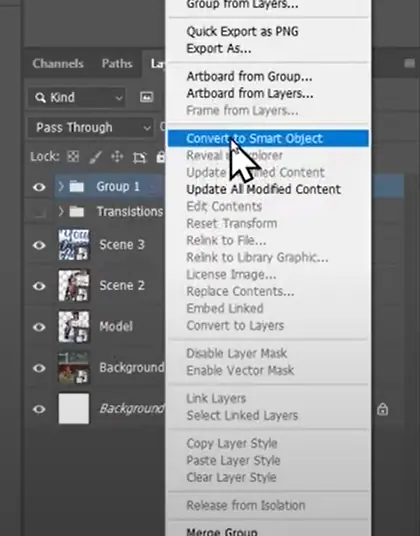
2. Right-click on the model layer and choose Convert to Smart Object
3. Right-click the model layer again and select Edit Contents
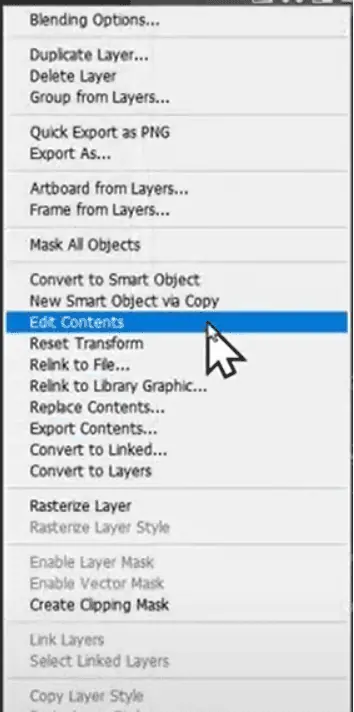
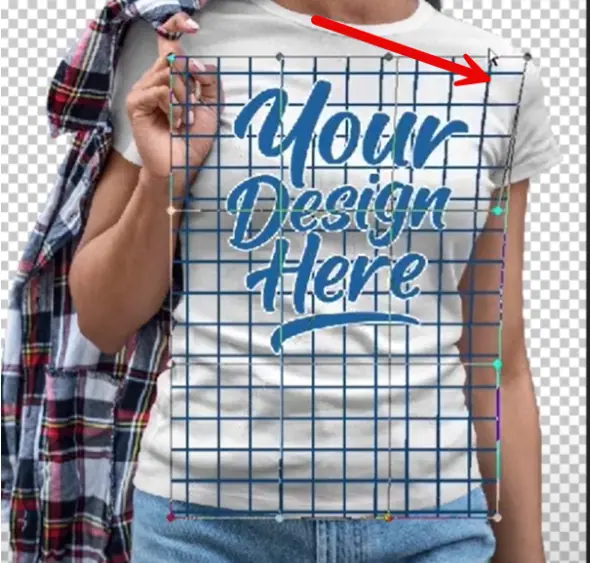
This will open our isolated model in a new tab. Here you will add your placeholder design and make it a reusable template.
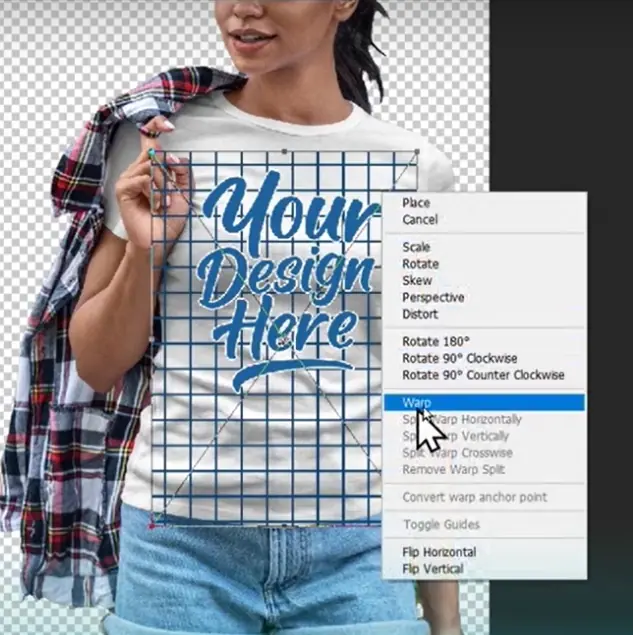
Grab your placeholder and drag and drop it onto the T-shirt. Now we need to arrange it according to the flow of the body shape. You can achieve that either by:
To take it a step further:
Now we will add some shadows to make it look more natural and realistic:
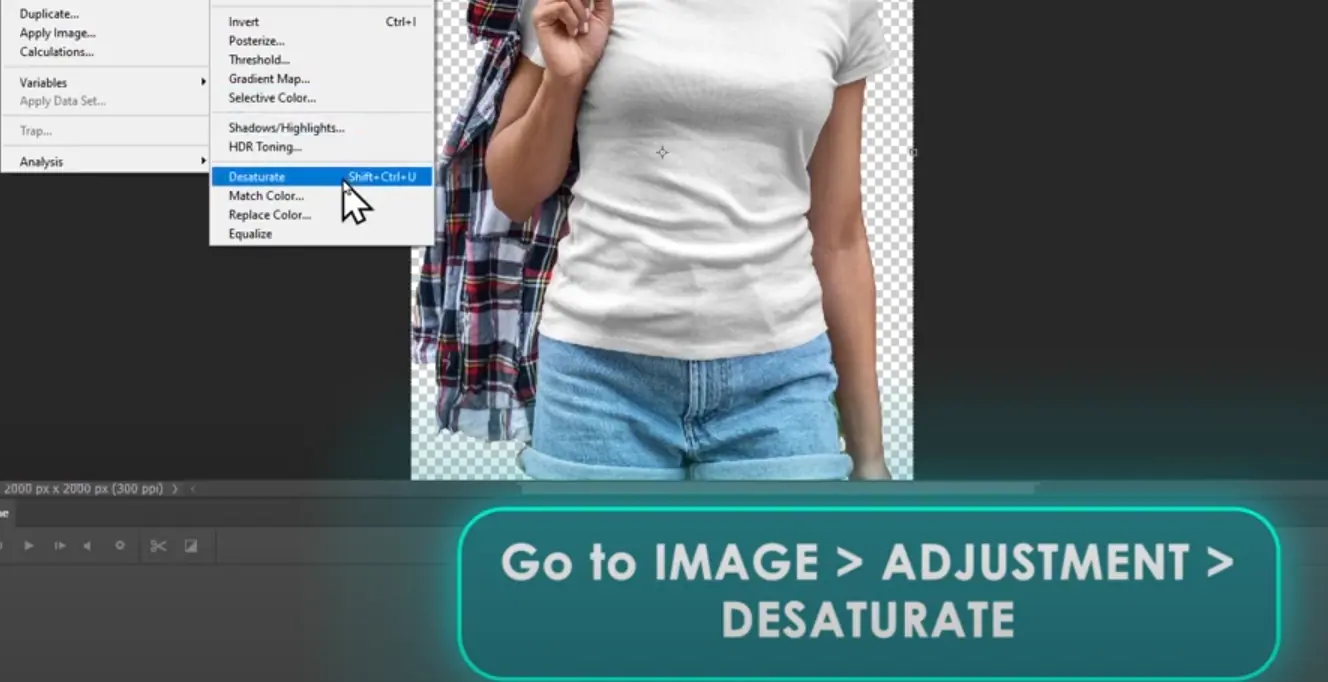
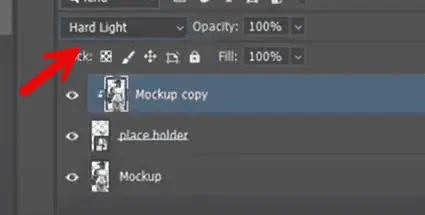
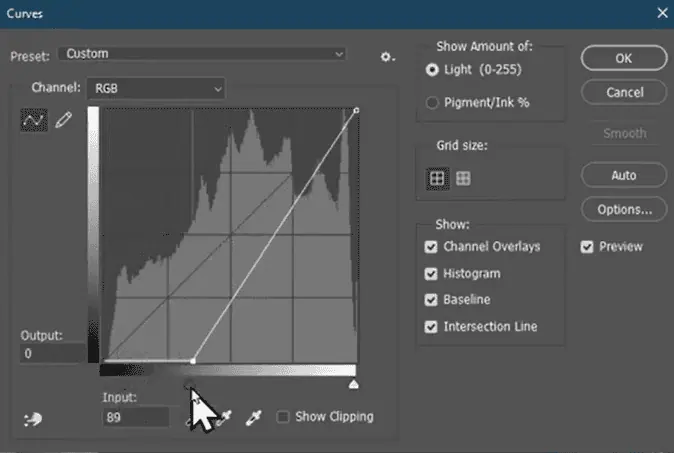
3. Move down the slider above to increase the highlights or bright areas. Adding the shadows and highlights makes the design look realistic and blends more naturally.
Save and close this tab. On your main composition, you can see that all the changes you made reflected. That’s the advantage of using a smart object.
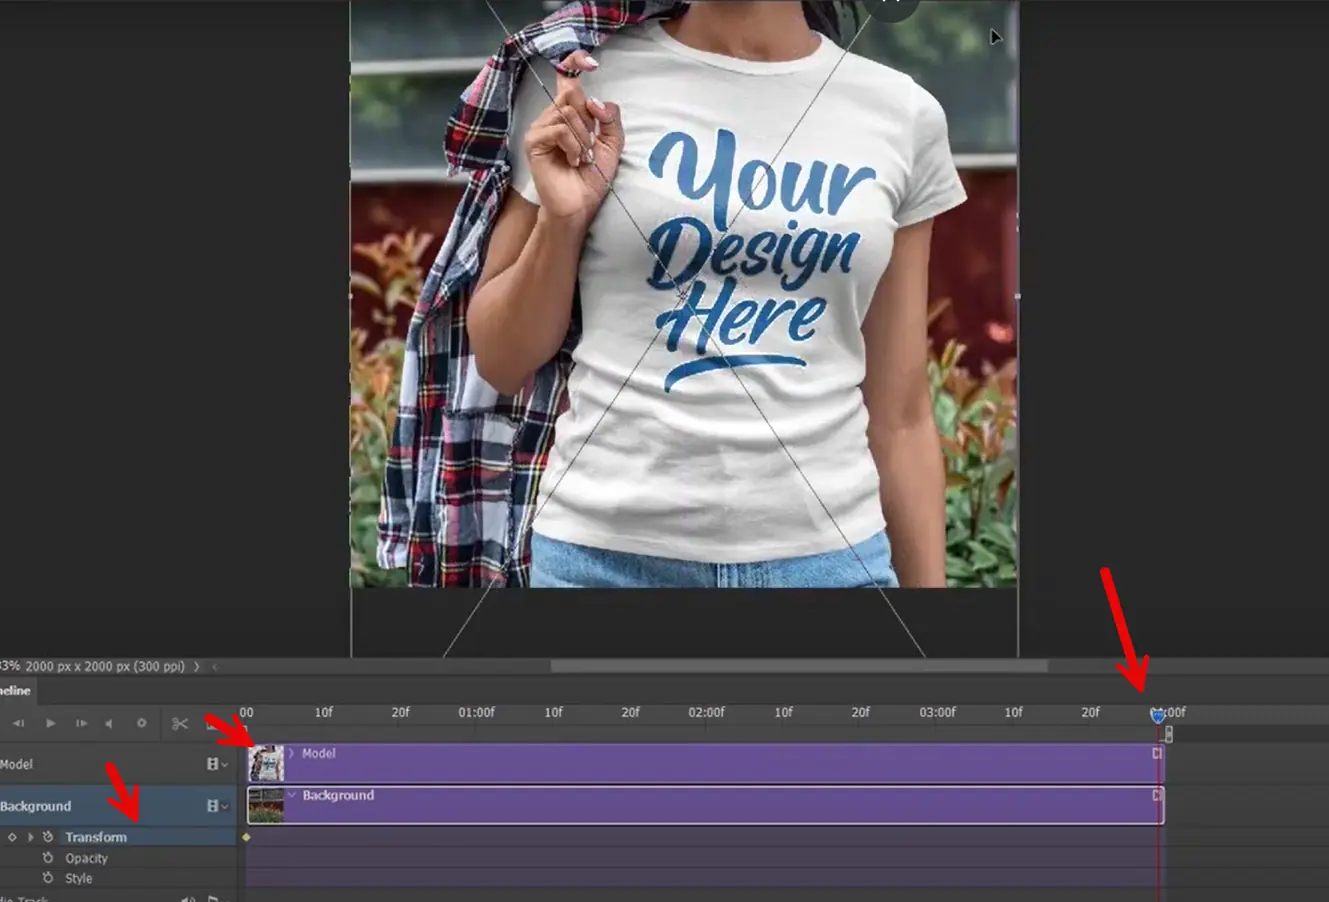
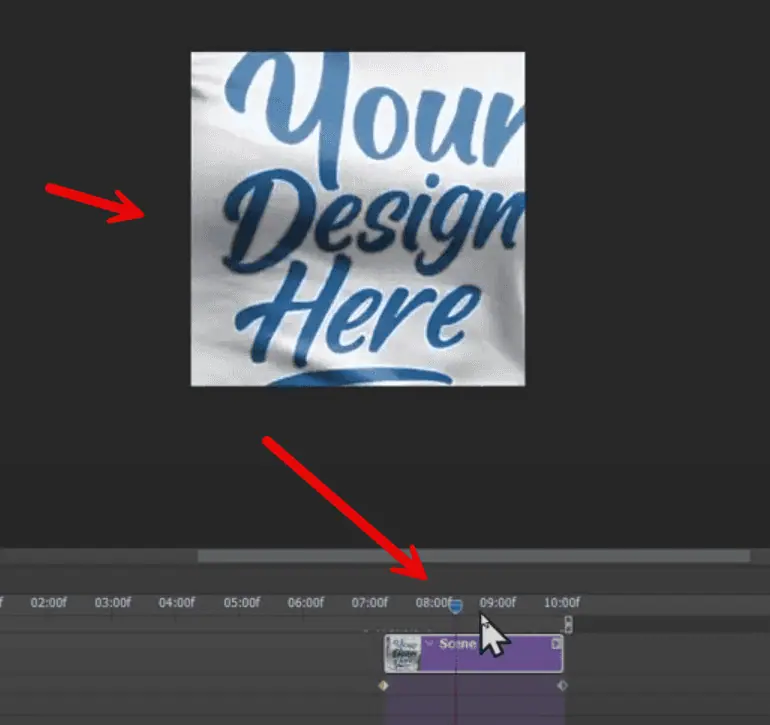
Below on the timeline panel:
Use the slider to control how long layers appear on the timeline. On the layers, you’ll find a drop-down key. Clicking on this will reveal three items:
Notice there’s a stopwatch beside each of these items. This stopwatch icon controls the addition of keyframes.
Let’s quickly talk about keyframes and how they work. Keyframes are points in your timeline that mark where changes happen, like transform, opacity, and style of our layers. Think of them as bookmarks that tell Photoshop where something should be at certain times.
To add 2.5D Parallax animation:
You can slide the play head to preview the movement between these two keyframes. Similarly, you can add keyframes for opacity and style parameters of the layers too.
For the 2.5D Parallax effect, the background should move in the opposite direction of the subject:
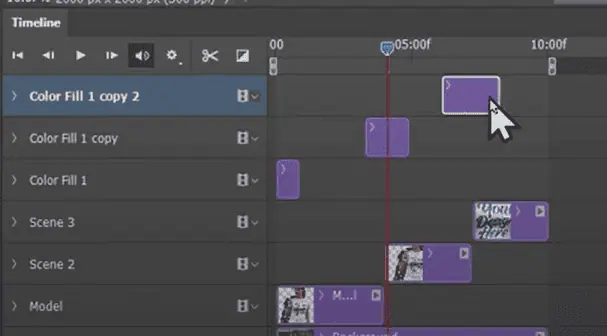
Let’s add a few more scenes to make this video template functional:

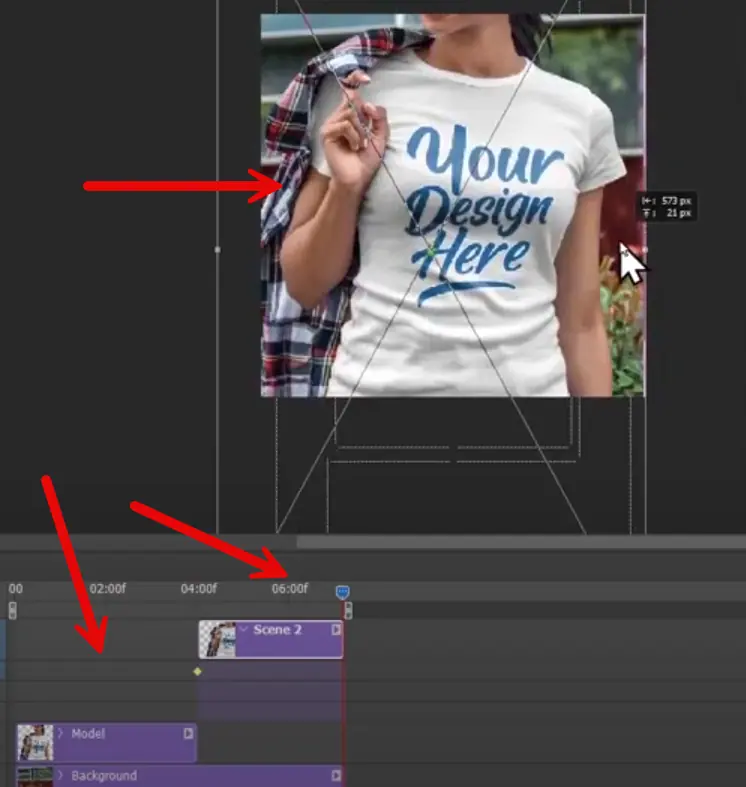
I feel some minute details are missing – the scene transitions abruptly. Up until now, we have used transform keyframes. Now let’s make use of opacity keyframes to add some fade-in transitions between each scene.
To do that:
This will create a slow fade-in opening effect, great for mockup reveals.
This creates slow fade-in transitions between the scenes. Repeat the process for the third transition.
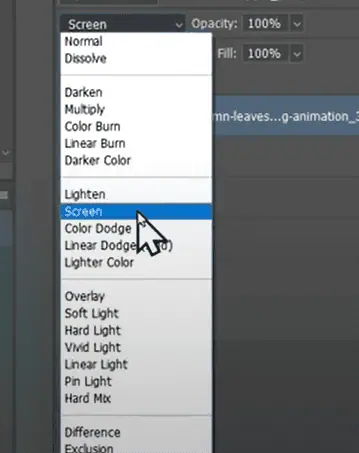
Now to further pop out the animation, let’s add some fall leaves particle motion. You can do that in two ways:
5. Select all the layers and group them
6. Add a Gaussian blur filter ( Filter > Blur > Gaussian Blur )
7. Reduce the intensity of the blur based on the distance of each Leaf particle
8. Right-click and convert the group to a Smart Object
9. Right-click on the layer again and click on Edit Content
10. Pick any leaf layer
11. Click the group drop-down arrow
12. Add a transform keyframe
13. Move the keyframe to the end of the layer
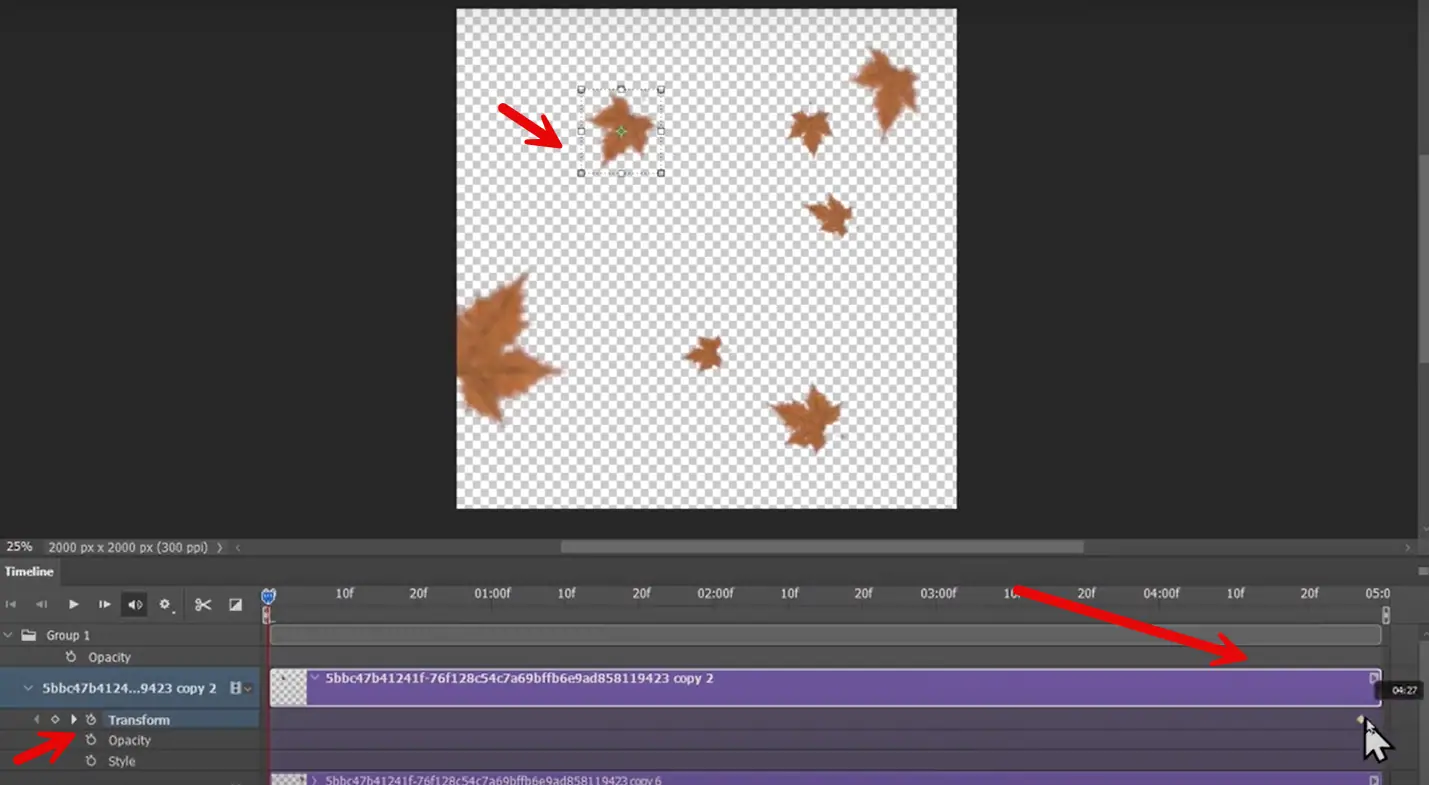
14. Position your Leaf a little above
15. Play around with the rotation and perspective
This creates a slight fall-down effect. Take your time to animate the rest of the leaf particles.
When done:
[ ALSO READ: How to Make Awesome Video Mockups In Canva ]
When done, save the template as a PSD document, which you can upload to sites like Etsy or Creative Market and earn some passive income.
Our video template is ready and demonstrates how to create professional t-shirt mockup video templates. These techniques will help you create engaging mockups that showcase movement and serve as effective sales tools for your buyers.
The key is understanding that successful video mockups go beyond simple motion – they highlight product details and quality in a way that helps drive sales. With these skills, you can create valuable templates that stand out in the marketplace and provide real value to your customers.
[ ALSO READ: 100+ Awesome Midjourney Prompts to Create T-Shirt Mockups ]
There’s a common misconception among Etsy tshirt mockup template sellers that simple motion equals good video mockups. They grab their t-shirt image, sway it left to right, and call it done. It’s like showing a car rocking back and forth to sell it.
Consider your video mockup as a mini commercial where every second matters. Avoid random movements; instead, create a clear narrative.
Poor transitions can make even the best designs seem unprofessional. It’s jarring and distracting. Many sellers hastily create animations that result in jerky movements and sudden scene changes and give off an “amateur” vibe.
In contrast, professional mockups feature smooth flows with well-timed movements and subtle transitions. Every animation should feel natural and intentional rather than a random assortment of effects.
Creating flat, two-dimensional animations is like serving a gourmet meal on a paper plate—it undervalues your product. Many sellers rely on basic front-view movements, missing the chance to showcase their designs in three dimensions.
Techniques like 2.5D Parallax animation add depth and make your mockups more engaging. This approach creates a near-three-dimensional effect by moving the background and foreground at different speeds, making your t-shirt design stand out.
A poorly structured template is like a puzzle with missing pieces. Many sellers create templates that are difficult to customize or lack clear instructions. Your template should be like a well-organized toolkit – everything in its place and easy to use.
This means clear layer naming, properly set up Smart Objects for easy design replacement and comprehensive instructions that guide buyers through customization.
This is just scratching the surface of what’s possible with modern mockup creation. The mix of AI tools and Photoshop has opened up incredible opportunities for digital product creators.
While I’ve shown you the basic steps today, creating professional-grade t shirt video mockup templates requires mastering several advanced techniques, especially when working with AI tools and smart objects.
For that, you can preorder my ultimate Etsy mockup course here.